More Love Letters

Image

http://www.moreloveletters.com/

http://www.ted.com/talks/hannah_brencher_love_letters_to_strangers.html

I have little to say on this post but I fell in love with the concept surrounding the love letters. A small gesture could potentially change a persons day for the better and I want to be a part of that.

More Love Letters has inspired me with an idea for an upcoming event. I’m excited. Watch this space.

Globe Trotters in Action

As I mentioned in my last post, we held an event at work in The Deck (http://microsites.nationaltheatre.org.uk/thedeck) to showcase our new summer menus. We invited prospective clients, event agencies and event managers to join us for a ‘trip around the world’ and taste food from our Globe Trotters menu. I have included some of my favourite photos from the event below.

Image

The design of the event was featured around the mirrored ROUNDBAR from Bash Bars (http://www.bashbars.co.uk/). This bar was less than a week old so we were really lucky to have it at our event. It comes in several sections and can also come as a curved bar. My favourite thing by far was our hanging globe in the centre of the room. I felt it connected the countries back to the idea of globe trotting around the world and it was the first thing you noticed when entering the room.

Photo 27-03-2013 19 41 50

To start the evening off we offered an ‘Elder Spritz’ cocktail created by the amazing Liquid Chef’s (http://www.liquidchefs.co.uk/). Vodka, shaken with St Germain elderflower liqueur, lime juice and egg white. Topped with soda and garnished with a cucumber stick, mint and lavender bitters. They incorporated different flavours from the countries we were showcasing.

Image

Our Indian corner was my favourite country for theming. I loved the bright colours made up by  different style cushions and throws. For Indian entertainment we had Shamin join us to showcase her fabulous Henna Tattoos (http://www.hennabyshamim.com/)

Photo 27-03-2013 19 18 19

Phlox Flowers (http://www.phloxflowers.com) did an amazing job of providing flowers for each country, but I thought the Indian floating flowers and candles in glass bowls were the most spectacular.

Photo 27-03-2013 20 30 01

We kept the British corner very clean cut with a white Chesterfield from JVP (http://www.jvp.uk.com/) and a white coffee table with white cube seating. We used a shabby union jack rug to bring the British out in the theming and two union jack flags behind the sofa.

Photo 27-03-2013 20 15 30

As part of the British section of our menus we served classic fish and chips which went down a storm.

Photo 27-03-2013 20 02 19

I felt that the French section of our event was the hardest to theme. We included a bike with fresh sunflowers in the basket, a plinth with a statue and ivy and an easel. Had we been lucky with the weather we would have opened up the glass sliding doors and put cafe style tables outside to give it a more Parisian cafe feel.

Alma

We had two french related entertainers, the first was the lovely Alma who played the accordian and sang french themed tunes

Photo 27-03-2013 19 43 48 (2)

The second was a fantastic caricaturist provided by Prelude Entertainment (http://www.preludeentertainment.co.uk/). He interacted with guests and provided them with a little token to remind them of their time in The Deck.

Photo 27-03-2013 20 12 43

Like the British corner, we kept the American theming simple with white cube seating and a small coffee table. By far the best part of our menu was the live ice cream bar which we included with the American section. Our chefs were ready and waiting to make knickerbocker glories, banana splits or hokey pokey ice creams to order. The concept of a live food station it really cool because it gives guests a chance to speak to the chefs and make the food experience more interactive by watching them make it in front of you. I had a banana split, I ate it all to myself and it was delicious.

So all in all it was a successful event with everyone enjoying the food and location. I should also say that all of our suppliers were kind enough to give their services free of charge for the event, without them we couldn’t have done it.

For a write up of the event see http://www.conference-news.co.uk/cn/The-Deck-International-Taste-Sensation

All photos are copyright Alexandra Simms Photography (http://alexandrasimms.com/)

Globe Trotters

 At work we recently held our own event to showcase our new summer menus. One of the new and exciting menus is ‘Globe Trotters’, which is a mixture of bowl food and canapes.

When initially deciding how we wanted the event to work we decided it would be based on this menu as there was lots of scope for fun and interesting theming which would help us to also showcase what our suppliers can do, e.g. florist, furniture, cocktails, entertainment etc.

To start off we created several mood boards, a general one with ideas to link the whole event and four countries that we had picked from the globe trotters menu.

ImageGeneral mood board to help link the event

Image

 American mood board

Image

 French mood board

Image

 Indian mood board

 Image

 British mood board

These mood boards were our starting point and helped us to develop further ideas alongside our suppliers.

A Splash of Colour

I guess a lot of weddings and parties have a specific colour theme of one or two colours in which everything will match.. the invites, flowers, bridesmaids dresses, reception decor etc etc.

I LOVE the idea of a bright multi-coloured wedding, here’s some ideas I like best..

chair bows

This cute idea of having different coloured chair bows works perfectly for an outdoor ceremony. Guests could be asked to take their bow from their chair after the ceremony and tie it to a couple of  different wires that are then hoisted to the ceiling of the reception venue, similar to the picture below.

ribbon

Ice lolly

I have a little bit of an obsession with ice lollies, I think these look super cool and are so easy to make! Very much a summer wedding thing, but relatively  cheap to make, depending on the fruit I guess and guests will be wowed.

COLOUR

I think this is an awesome engagement shoot and looks like so much fun too. It reminds me of the Holi One Festival’s that are held in numerous countries every year http://www.holione.com/

Shoes

I love the fact that the bridesmaids all have the same style shoe but in different colours. Each bridesmaid has a matching bouquet and the bride has multi-coloured!

lanterns

The multi-coloured lanterns and flowers work perfectly with the white linen and the wooden chairs work great with the wood beamed barn. Clean but exciting.

Halloween Gingerbread House

I’ve wanted to make a gingerbread house for ages now and I was too impatient to wait until Christmas so I went ahead and made a Halloween House.

To make the house I followed Kirstie Allsopp’s recipe http://www.channel4.com/4food/recipes/tv-show-recipes/kirsties-handmade-britain-recipes/gingerbread-house-recipe

I made this over two days, the first I made the gingerbread mix and icing. I left the gingerbread in the fridge overnight. The second day I made the panels and assembled the house. I would advise to take the dough out the fridge a couple of hours before you roll it though because it’s too hard otherwise. I also cut it up into four parts and rolled it out to make it easier.

Once rolled out I cut around the templates I had made using a sharp knife and placed straight onto baking trays lined with baking paper. I left these in the freezer for just over an hour. If you do this make sure the gingerbread is completely flat on the trays otherwise they will freeze with curled edges. Freezing them definitely stops the gingerbread spreading out in the oven.

I had loads of dough left over so I made different sized men, trees and pumpkins to decorate my house (and eat whilst decorating to stop me eating the house). If you don’t have a cutter just print a template off and cut around that using the point of a knife – works the same just a little more effort.

So bake your house panels in the oven at 180 degrees for 8-10 minutes. If you want to cut the edges when they come out the oven then do it quickly before they harden but I found that it wasn’t necessary.

This is the fun bit. I got my brother to help me out, two people is definitely easier than one. I have a cool icing tool which I used but a piping bag will work just the same. Add a couple of drops of colouring to the icing if you want to create a different effect. Ice down both sides of a panel and carefully attach another panel. You may want to use a knife or something to spread the icing and fill in any gaps. Hold the panels together for a couple of minutes to be sure they are sticking. Do the same with the other side panels.

Now for the trickiest bit. Ice alongside the roof and top of the side panel being fairly generous with the icing. Gently place the roof onto the icing and hold there for a few minutes. When you are confident it’s not going to slip do the other side and ice in between the two roof panels where they meet in the middle. Once this is done it’s time for the decorating! I used after eights for the roof panels (although I ran out so I had to spread them across the roof which left large gaps)

So here it is! My brother decorated some people to live in it. As well as looking cool and tasting good it was so much fun to make!

My Attempt of Pop Cakes

As promised I made my own pop cakes. I decided to cheat a little bit and buy a chocolate cake mix because I couldn’t cope with going through making a chocolate cake from scratch and then breaking it up if it went wrong. So here’s what I did to make them…

You need:

1 x Chocolate cake mix (I used Betty Crocker), plus the extras they require – usually eggs, oil and water

1 x Tub chocolate frosting (I used Betty Crocker)

1 x Packet of lolly pop sticks (I got these from Hobby Craft)

2 x Large bars of white cooking chocolate (milk/dark if preferred)

Sprinkles, icing writing and whatever else you require to decorate

Optional: Pop cakes packaging if giving as a gift

Image

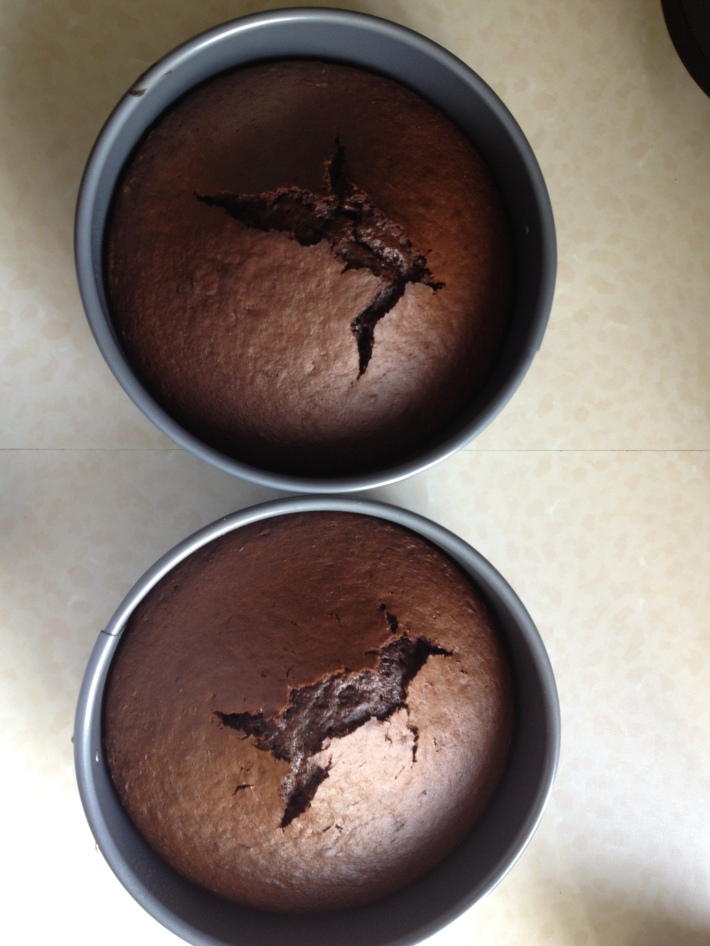
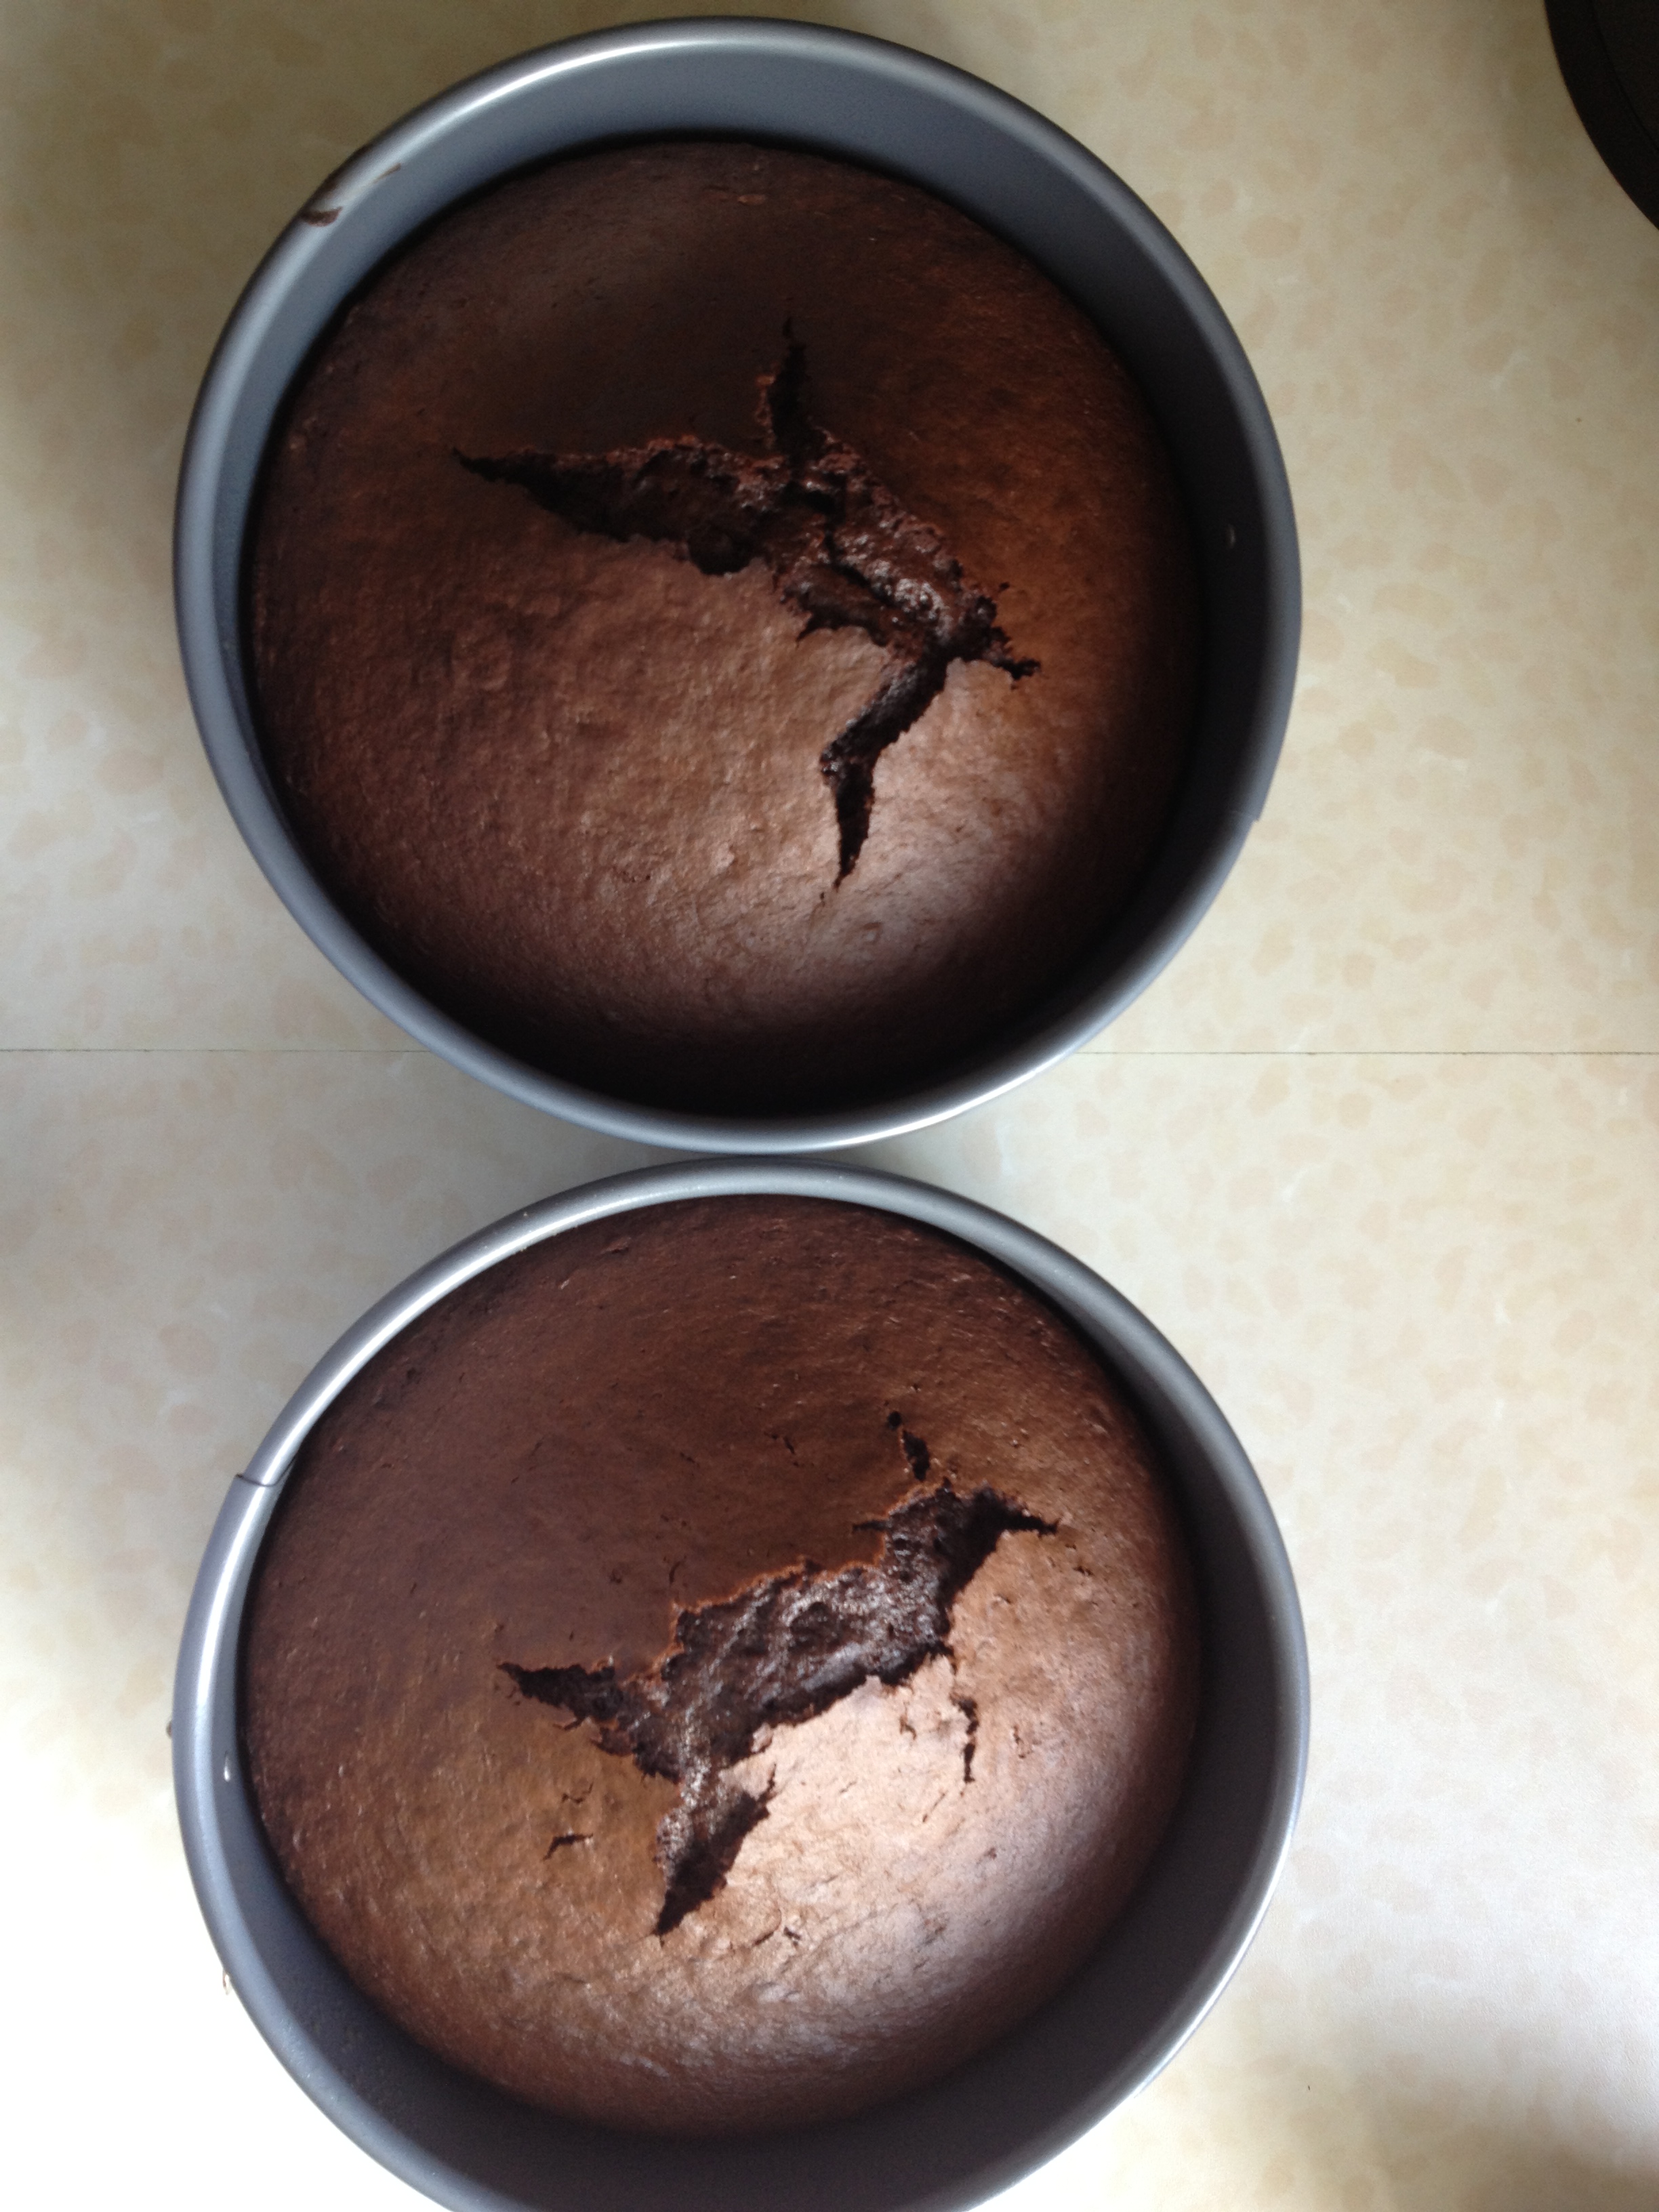
1. Follow the instructions from a chocolate cake mix (I used Betty Crocker). This made two small chocolate cakes.

Image

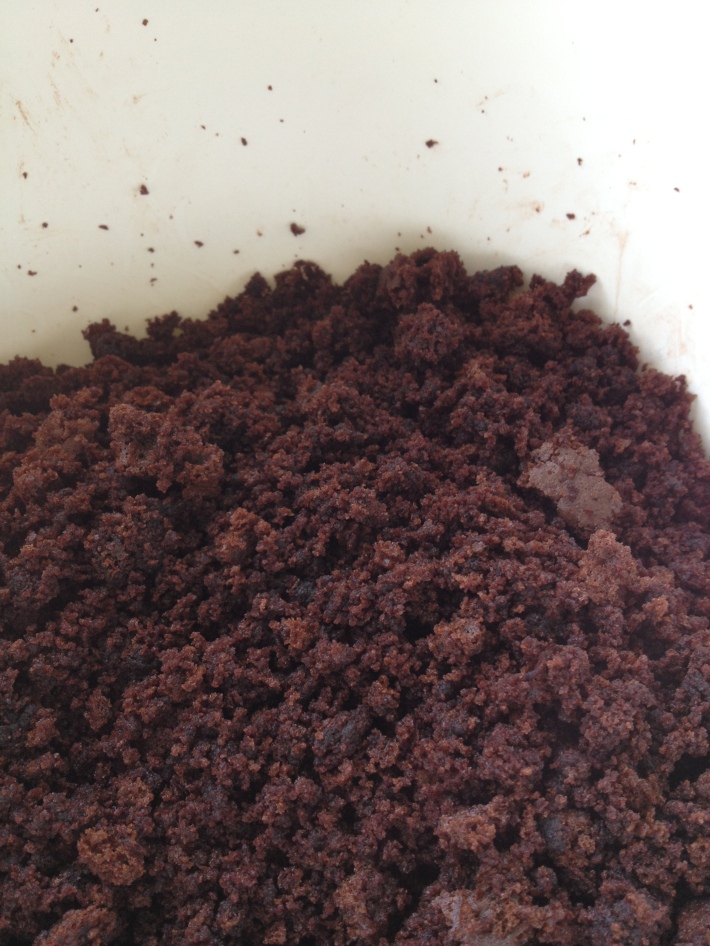
2. When cooled, break chocolate cake into crumbs using your hands in a mixing bowl.

3. Spoon one large spoon of pre-made chocolate frosting (I used Betty Crocker) into the mixing bowl and mix well with the crumbs using your hands. The crumbs should become stickier, but not too sticky as you want to keep the cakey texture.

Image

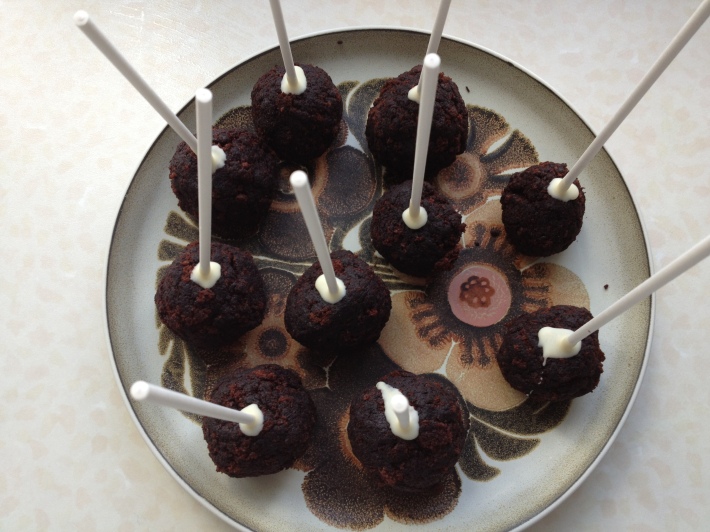
4. Taking a handful of chocolate cake gently roll into a small tight ball. I used a small ice cream scoop to get the same sized balls.

5. Melt 1/3 of a bar of white cooking chocolate in the microwave.

6. Dip the ends of the lolly pop sticks into the melted white chocolate and then insert halfway into the rolled out chocolate cake balls.

7. Once you have completed this with all the mixture place in a freezer for 20 minutes.

8. Meanwhile prepare the toppings that you would like to use for decorating your pop cakes.

9. Melt the remainder of the white chocolate plus another 2/3’s bar. (You could use milk chocolate, dark chocolate or icing instead). I would recommend pouring the melted chocolate in a thin narrow glass/mug to make coating the pop cakes easy.

10. Take the pop cakes out of the freezer and dip each one in the melted chocolate. Let the excess chocolate drip off. If you are decorating using sprinkles like I did, don’t leave it too long before covering because the chocolate hardens quickly.

Image

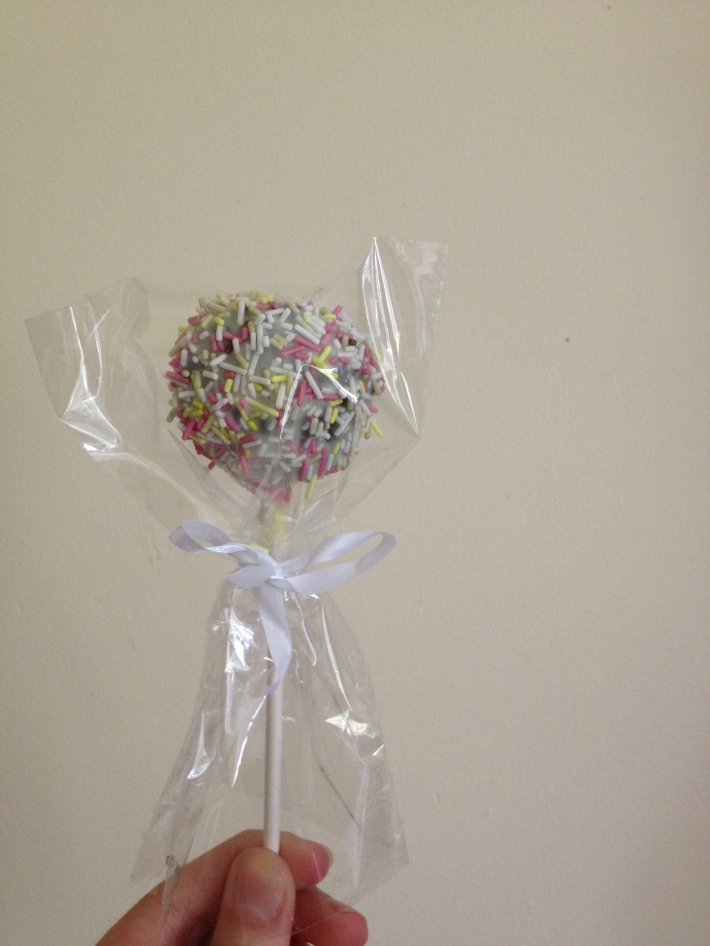
11. When I was out shopping for the lolly sticks I found packaging for pop cakes (hobby craft). Adds the finishing touch if giving them as a gift.

Image
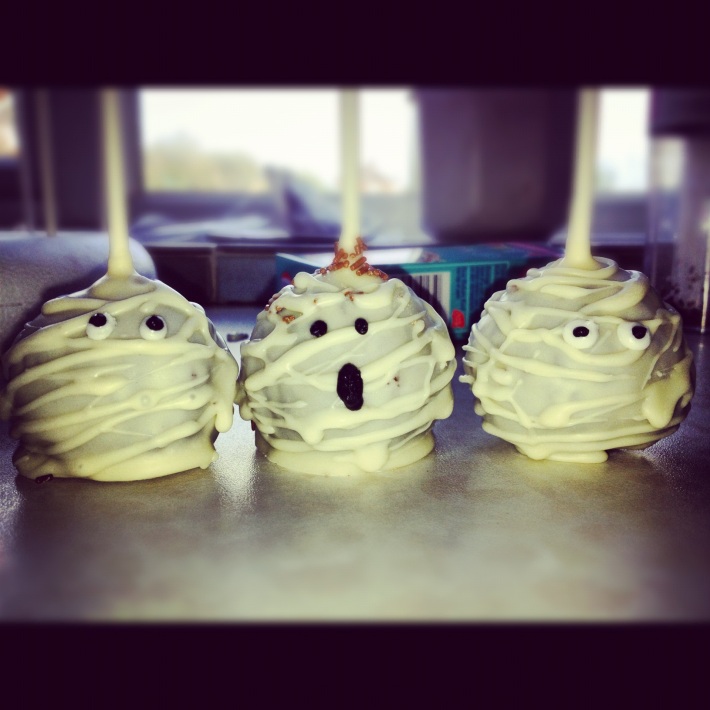
I also made some upside down ones for Halloween. I let the chocolate coating dry and then using a lolly pop stick I dripped white chocolate around the outside and used icing writing to make the eyes.

So that’s it! They are so simple, look great and taste pretty good. If I make them again I will make my own chocolate cake and use icing to create different coloured pop cakes.

Pop Cakes

Move over cupcakes and macaroons because pop cakes are here. I was first introduced to pop cakes by PopKakery (http://www.popkakery.com/) at the Speciality Fine Food Fair at Excel London recently. My eye was immediately drawn to these cute little lolly pop style items decorated in so many different ways. The lovely man behind the stall,  upon seeing my excitement came bearing samples – vanilla, cookies and cream, carrot cake, chocolate, berry, mocha. I went for the vanilla and it certainly was as good as it looked. The great thing with these, like cupcakes, is that they can be decorated for such a range of themes. Without a doubt pop cakes will become hugely popular as wedding favours, in party bags and on dessert tables.

I haven’t tried making any of my own yet, but it’s definitely next on my list of things to do so I’ll post some more pictures if they turn out ok! Until then here is a recipe http://www.thekitchn.com/how-to-make-cake-balls-78637

All Hallows Eve

With 27 days until Halloween I thought it appropriate to do a post along this theme.

at work I have been organising our second annual ‘Spooky Trail’ around the estate of Stansted Park and it got me to thinking why do we actually celebrate Halloween? well..apparently no one really knows for sure but it is thought that it originated as a pagan Celtic Festival to honour the dead. it was believed that on the eve of Halloween spirits of the dead returned to Earth. people would dress up as ghosts and witches so that the spirits wouldn’t recognise them. trick or treating was an act by the poor, where they would go to peoples doors and offer to speak to the spirits of the dead in return for coins or food. back in the day they carved turnips, beets and potatoes and used them as lanterns.

Halloween has certainly become very commercial like most other holidays, but i love it! i think it’s a great excuse to wrap up warm, go on a walk, tell ghost stories and scare yourself silly or get a little creative with pumpkin carving (however useless i am). while looking at different ideas for my spooky walk i found these truly amazing pumpkin carvings

if you are holding a Halloween party there are some great simple decoration ideas out there… i especially like the spider web balloon, see http://www.craftycrafty.tv/2008/09/halloween_how_to_make_spider_w.html for details on how to do this.

if you’re having a party then of course you’re going to need some food and these cute ideas have a fun Halloween twist to them. my favourite idea are the bite size toffee apples. i love toffee apples but a whole one is so much effort to eat without losing a tooth, so these are the perfect go between.

an introduction

Just a little bit about myself and the purpose of my blog..

I’m Laura, 22.

I work for a unique venue in London which hosts a huge range of events including weddings, private parties, corporate conferences, product launches etc.

I love looking at all things relating to events, weddings and venues.

There have been so many occasions when I’ve seen an idea I love and wished afterwards that I had written it down. So the purpose of my blog is so that this doesn’t happen again. If you happen to read one of my posts and enjoy it then that’s even better!